


Thanks to Apple's awesome user interface, it is extraordinarily easy to set your default printer. Instead of guessing which printer your document printed to, be certain of where it is every time.
Stop chasing that printed document around your home or office and set your Mac to print where it is most convenient for you.
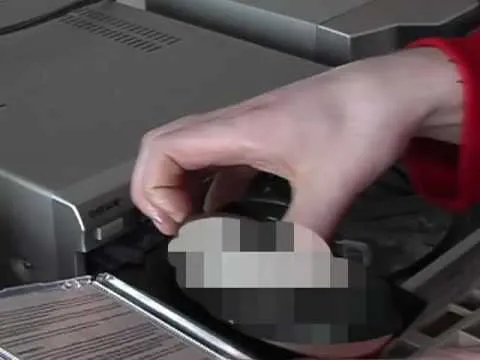
Step 1: Check printer connection and power
Check to see if the printer is properly connected and powered on.
Step 2: Click Apple icon
Click on the apple-shaped icon in the top-left corner of your desktop and select "System Preferences."
Step 3: Click on "Print & Fax" icon
Click on the "Print & Fax" icon from the new window that pops up.
TIP: If you make a mistake, don't panic. Simply close all open windows and start over.
Step 4: Find the printer menu
Find the menu labeled either "Selected Printer in Print Dialogue" or "Default Printer."
Step 5: Select your default printer
Select the printer that is most convenient or most often used from this menu. If you're unsure which printer to select, match your printer's model number or manufacturer's name to one on the menu.
Step 6: Print a test page
Print a test page to see if it goes to the correct printer. If not, repeat steps two through five and try again.
Did you know? Xerox developed the first laser printer in 1971.


Comments
Be the first, drop a comment!