Hot Other Devices How-Tos

How To: Easily make an electromagnet
Ready to play scientist? This video will show you how to make a cool electro magnet out of a 9 V battery, a 9 V battery connector and parts from a Nokia phone charger. Use a fully charged battery for stronger magnet. Then solder the two parts together and plug in your battery. And just like that you’ve created a powerful yet simple magnet. Try picking up different things and use different batteries to test the difference in strengths . See science can be a whole lot of fun. Put on some funky ...
How To: Read binary on a block
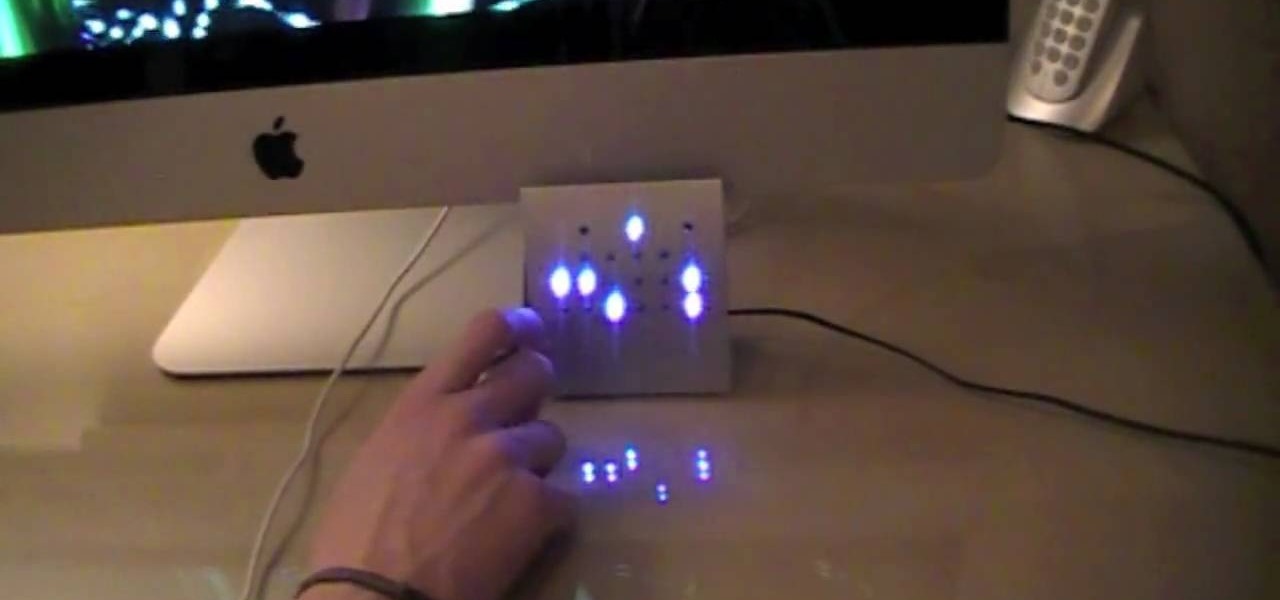
Ever wonder how to read a binary clock? First, you must learn that in binary code there are only two numbers, one and zero. A binary clock has six columns and tells time in military time. The first two are for the hour. No light means zero. A light that is turned on is one. The first column has two dots the second column has four. if the second dot from the bottom in both columns is lit, it is 22:00 or ten o'clock. In the third column the light closest to the bottom is lit which means one. In...

How To: Simply read a binary clock
Sydus 93 teaches You Tubers how to read a binary clock by demonstrating the following process: A binary clock is made up of four rows and six columns of colored or uncolored dots. The rows, from bottom to top, represent the numbers one, two, four and eight. From left to right, columns one and two represent hours, three and four minutes and five and six are seconds. In order to tell time using the binary clock, begin at the left of your chart and simply determine which dots are filled in and a...

How To: Make a microphone wind screen for a Zoom H2
For anyone who has ever used a microphone, trying to record something during a windy day can be a bit of a pain. Of course we can eliminate most of the interference with a simple wind screen that can be purchased at the store, but many times they can be a bit pricey. Well, in this tutorial find out how to make your own wind screener for a Zoom H2 mic. Enjoy!

How To: Navigate your Epson printer driver options
Your Epson driver controls your printer to your computer. You can change options to more suite your work. This video will demonstrate how to use the Epson priter driver.
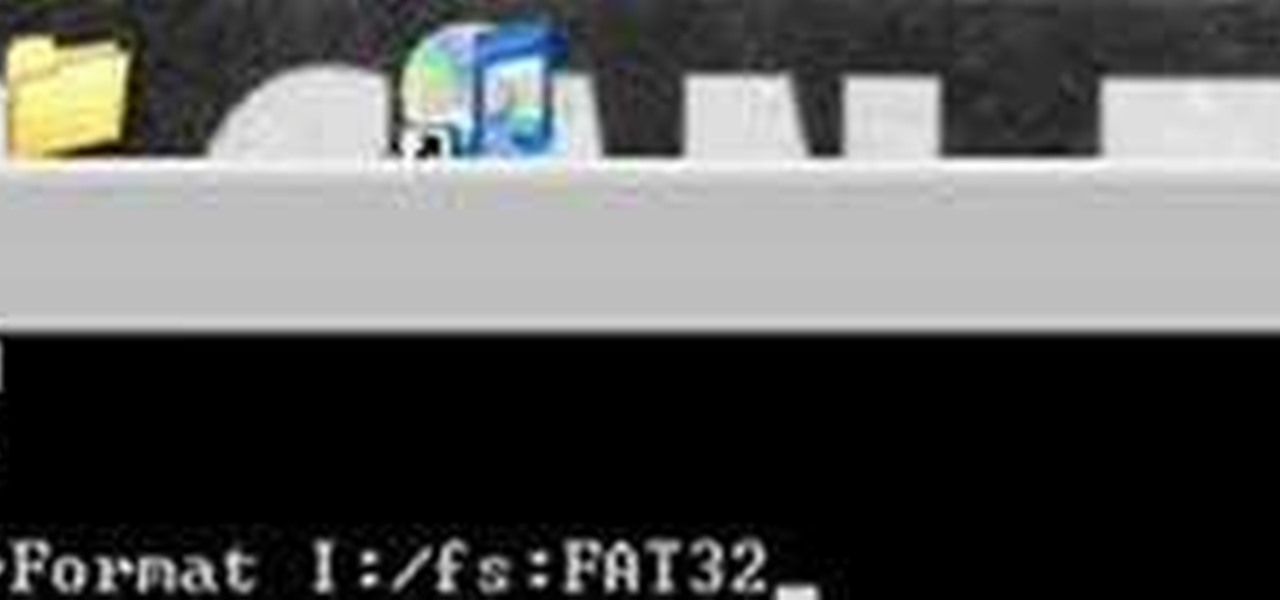
How To: Format a drive or USB flash drive
Reformatting a flash drive will update its drivers and rid it of all data. This can help in a lot of occurances. This tutorial will show you exactly how to format flash drive properly.

How To: Use a metal detector to uncover hidden bounty
Treasure may be buried as close as your own backyard. If you have some time to kill, try the art of treasure hunting. You’ll be sure to discover lots of interesting thing after learning how to use a metal detector to look for treasure.
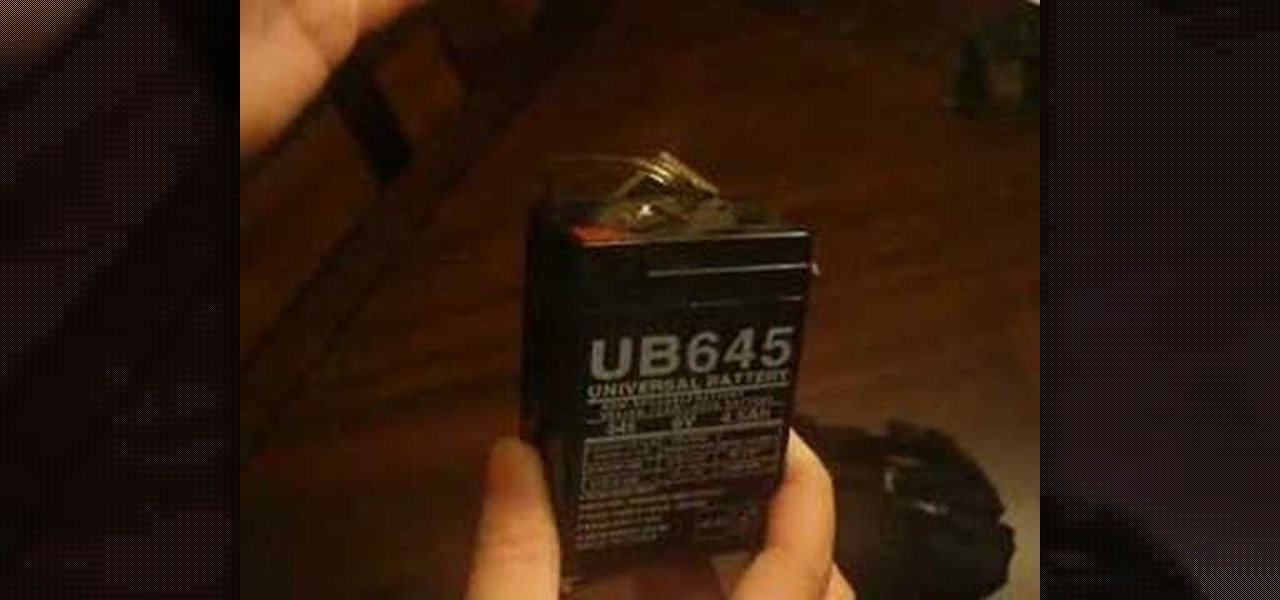
How To: Make your own 6v battery pack for the Vivitar 285HV
You can make your own 6 volt battery pack for the Vivitar 285HV camera. The Vivitar 285 is known as the "cockroach" flash because it is well put together and it is very hard to kill the flash. Manual mode settings and the color setting are explained briefly. Instead of using four double A batteries to power this flash you can make your own 6V battery to power it. This is beneficial because the 6V battery will last longer and some of them have the ability to be charged up.

How To: Unlock your AppleTV
Mike Agerbo explains the benefits from listening to one's music through AppleTV, however it seems that one cannot listen to any music or other audio files unless he/she is using iTunes media. Agerbo explains how you can use Apple TV with other types of media, using a program called ATV Flash. Agerbo believes ATV Flash to be an easy and inexpensive tool to upgrade one's Apple Television so it can use the USB port and download and use other media content. One can also create a Boxee account to ...

How To: Use a Vivitar flash for a kicker light outdoors
This video instructs the watcher on how to use the flash of a Vivitar to add light to photos taken outside if a little extra light is needed. Turn the camera on AV mode, choose an ISO setting like 100 or 200, then take a reading, either off the sky or an object. Then use the Vivitar to match up to that setting. Then position your camera off to the side to add a directional light to give the photo detail and kick. Follow the directions in this video to learn a new technique to give your outdoo...
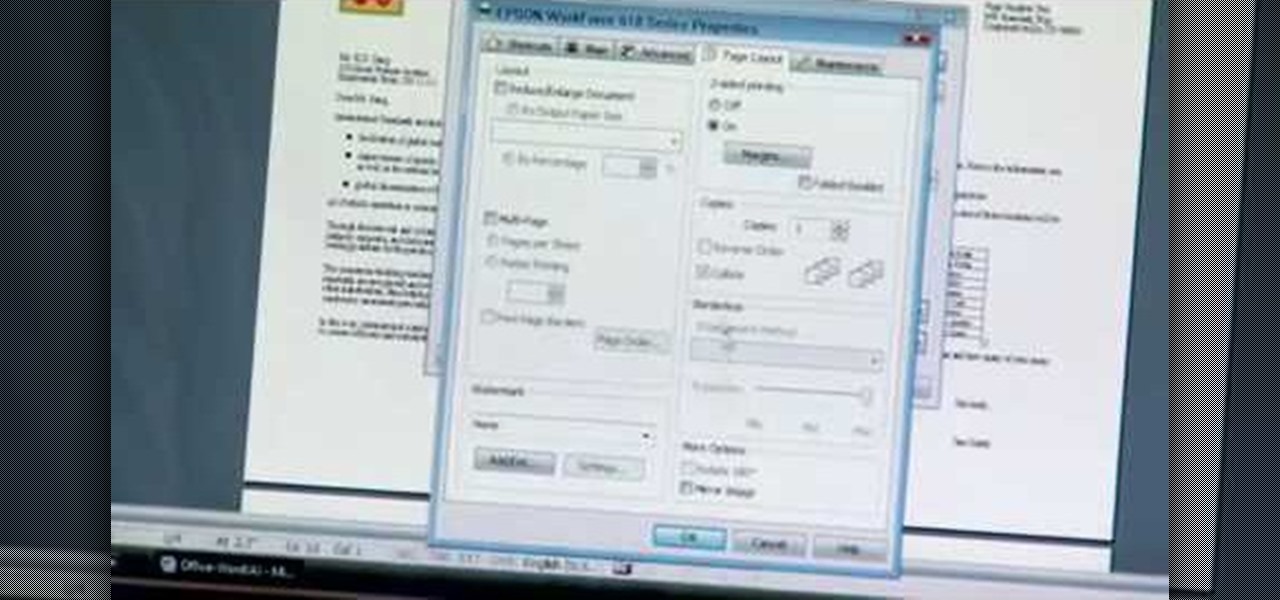
How To: Print 2-sided (duplex) w/ an Epson all-in-one printer
The Epson video describes how to print two-sided on one piece of paper. When document is ready, go to "File" and then "Print". Click the "Properties" button and select Page Layout tab and turn on the two-sided printing option. Click "OK" in print window. Wait for Epson printer to complete the first page. Take paper, flip over and put it back upside down in the paper feeder. There are instructions that will pop out on screen for this. Click resume and the second page will be printed on the bac...
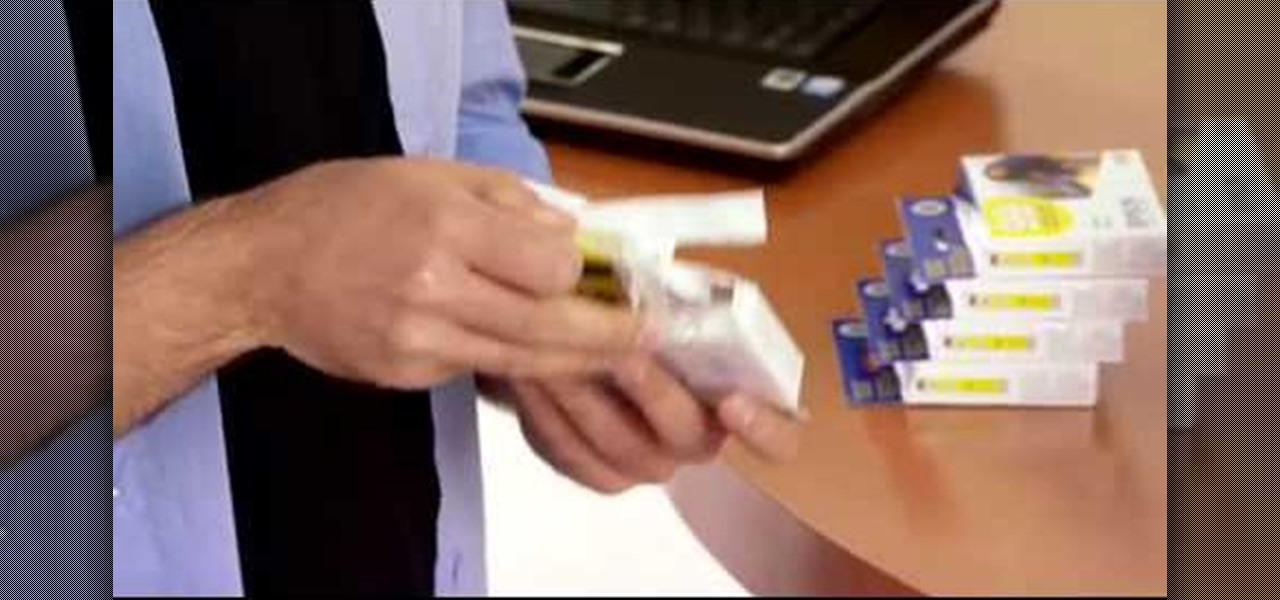
How To: Replace ink cartridges in an Epson Artisan
We all know how frustrating it can be to replace ink cartridges in a printer. With the Epson Artisan printer, the task is simple and easy. The hardest part about replacing the cartridge is selecting the correct one. Even this job is made easy by the numbers on the cartridge casings. Simply pull off the tab before replacing, pop in the new one until it clicks, and you're ready to start printing whatever your heart desires. Exceed your vision!
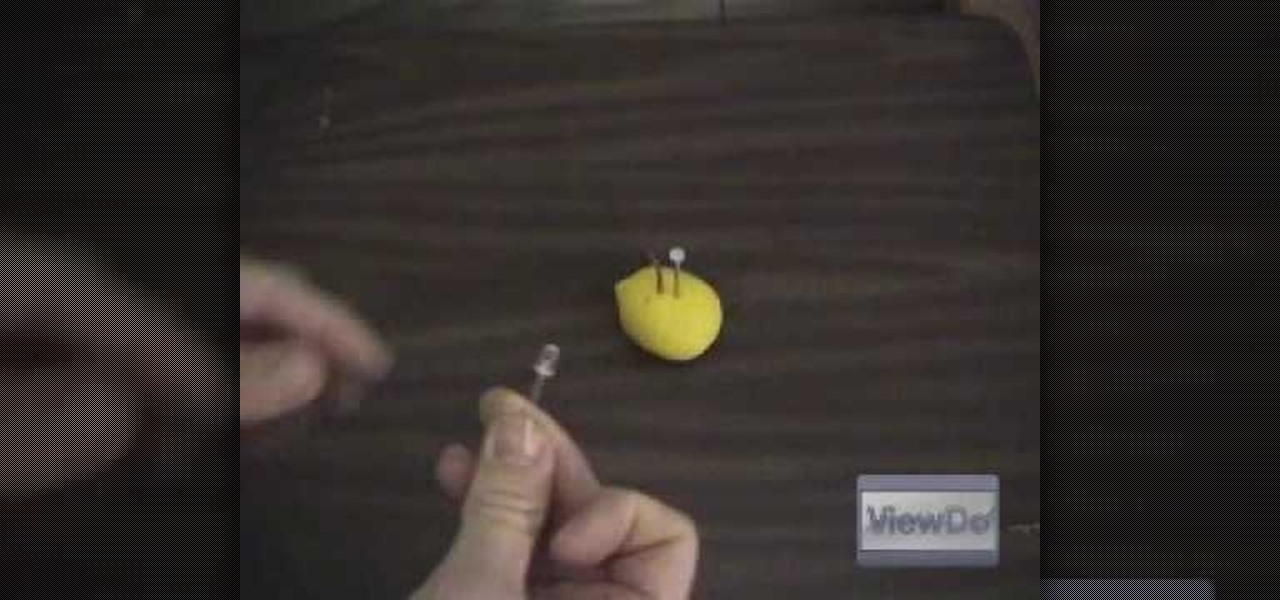
How To: Make a lemon battery
VieDo expert Alan Puccinelli shows us how to make your own battery with a simple lemon. You might think it's impossible, but if you follow the instructions in this tutorial, you will find out that it is actually really simple. The video gives you a lot of information about electricity and about the way this lemon provides energy, so you will easily understand not only how to do it, but how does it work. Even though it's a very interesting experiment, such a lemon only gives you about one volt...

How To: Use the Pinnacle Video Transfer device
In this video, the author explains how you can use software called "Pinnacle Video Transfer" to convert your audio and video files to other audio, and video forms. This is so that you can carry them on whatever devices you want, and play them whenever you want. This video takes you through all those steps to convert your favorite audio and video files to different file formats. You would get a clear idea as to how you can easily capture videos by watching this great tutorial.
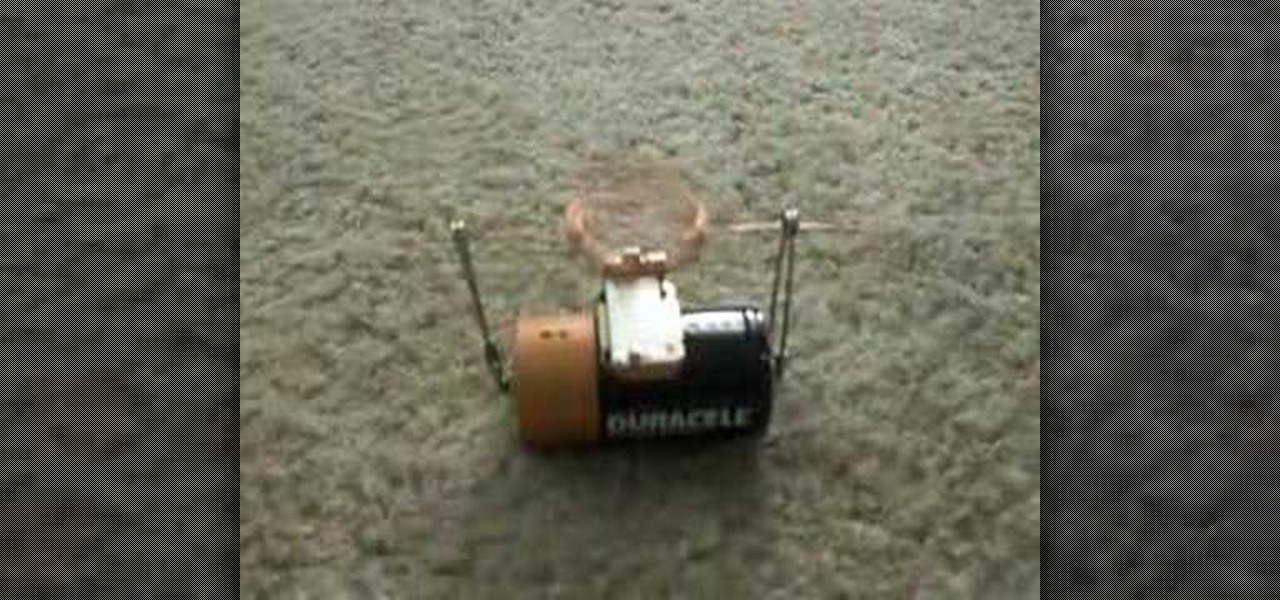
How To: Make a simple toy motor
It’s just a few steps to make a toy motor. Take a battery of any brand, then take two safety pins. Attach them to both the sides of battery as they act as positive and negative. Then take a magnet, keep it on the battery. Now take a strip, which is rolled into a circle, and take two leading wires from it. Then keep this strip in between the safety pins and just start it up by rotating to one side. Then leave it aside, it rotates continuously.

How To: Use "foofing" when shooting flash photography
This video is about the concept of "foofing" when shooting flash photography. For this, you need a camera with a flash that can be directionally adjusted. The process involves simply pointing the flash at either a wall or the ceiling, to avoid having the light from the flash strike the subject directly. This can create several different lighting and shadowing effects, giving photos a less "harsh" look, and also giving them a more "professional" look. The color of the wall or ceiling used will...
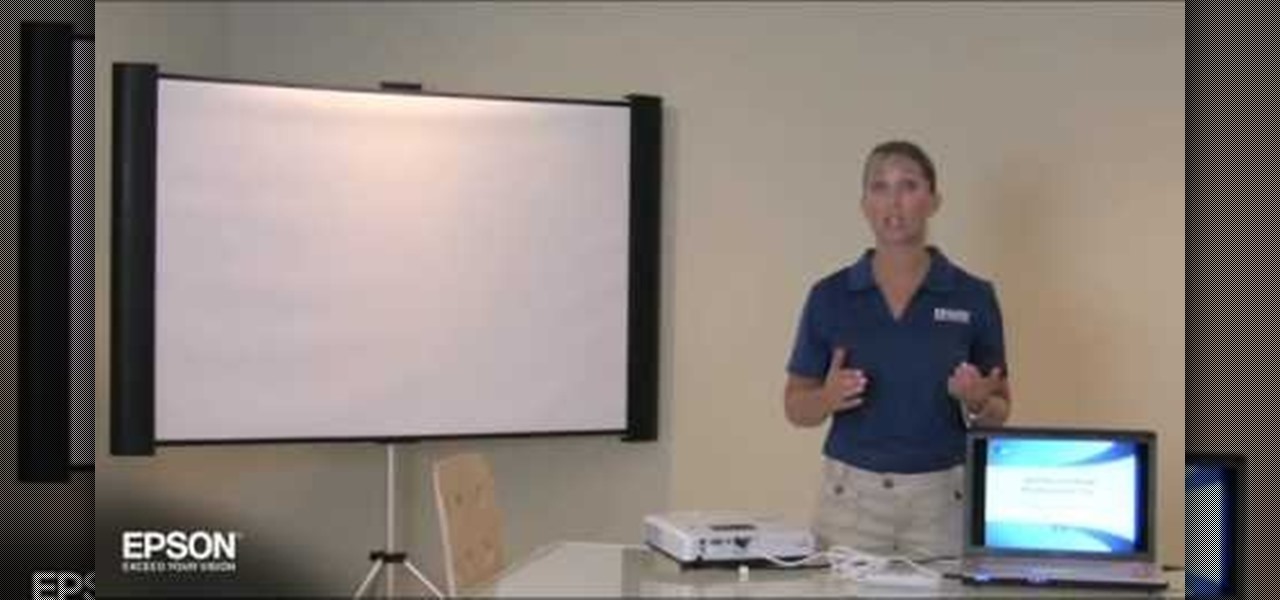
How To: UsUSB Plug 'n Play Instant Setup with Epson projectors
Epson printer setup is easy, let’s start by connecting the standard USB cable into the USB port in the back of your computer, the other end of the USB cable will go into the USB slot in the back of the projector. Simple as that your slides will start immediately! With the Epson plug n play projector you can use the page up page down keys in order to manage your slides which you cannot do with those other out dated connections.
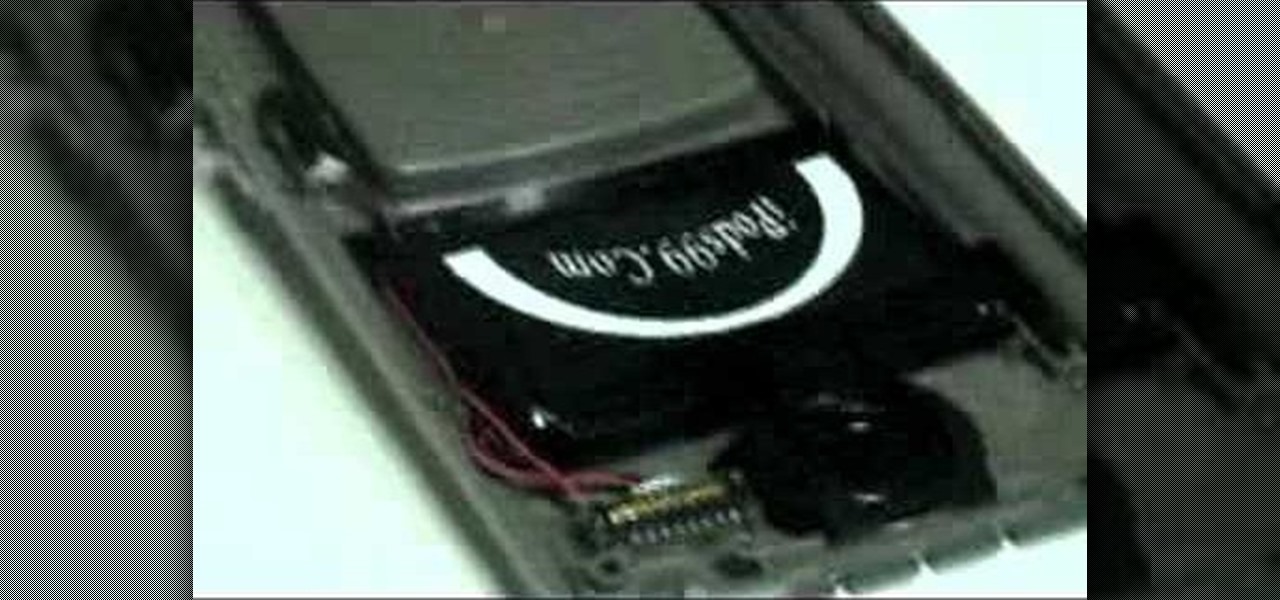
How To: Replace the battery in a Garmin ice 3600 GPS unit
Don't let an overpriced professional take over your Garmin battery replacement when you can do it yourself for a far less price and a higher feeling of satisfaction. Your GPS will thank you with years of use. This step-by-step video demonstration will show you the procedure for replacing the battery in your Garmin iQue 3600 GPS unit. You can use the replacement battery found in the video, or any other replacement battery, the results are the same.
How To: Understand the HP 10Bll Financial Calculator
In this tutorial, learn about the nuances and abilities of the HP10BII Financial Calculator and how to get it running properly and indefinitely.
How To: Set your default printer on a Mac
Thanks to Apple's awesome user interface, it is extraordinarily easy to set your default printer. Instead of guessing which printer your document printed to, be certain of where it is every time.
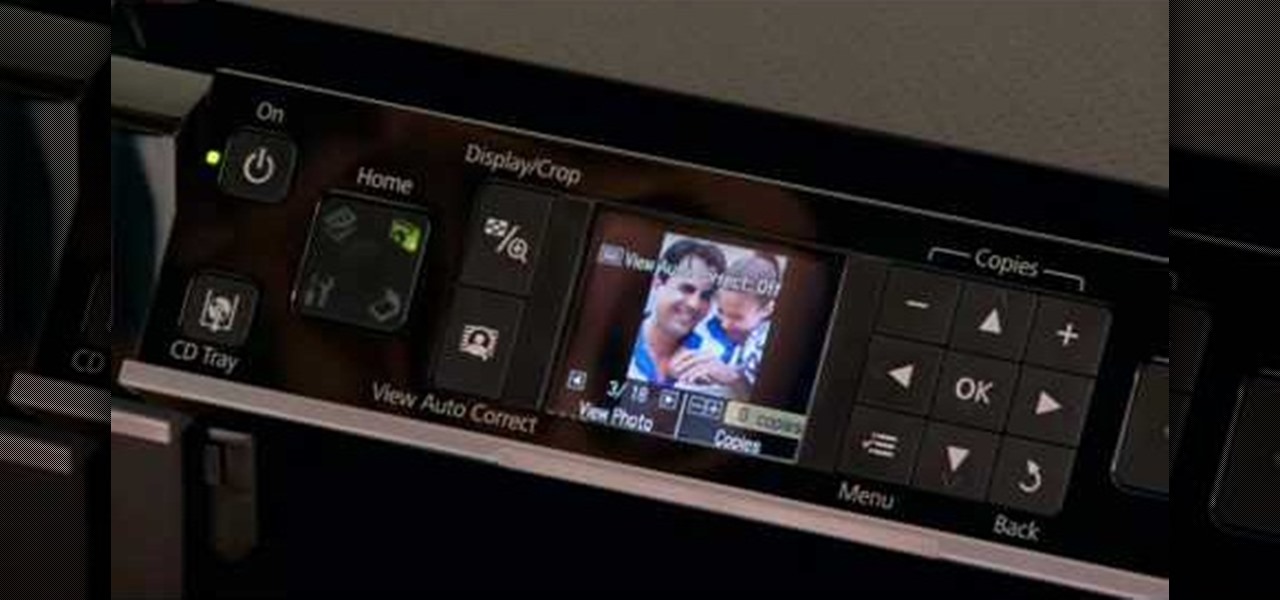
How To: Print in standalone mode with an Epson Artisan 710
This all-in-one printer's versatility will help you in any aspect of home office printing, whether it's business documents or family photos. Learn how to print photos without even turning on your computer. Printing and organizing photos will now be a breeze!
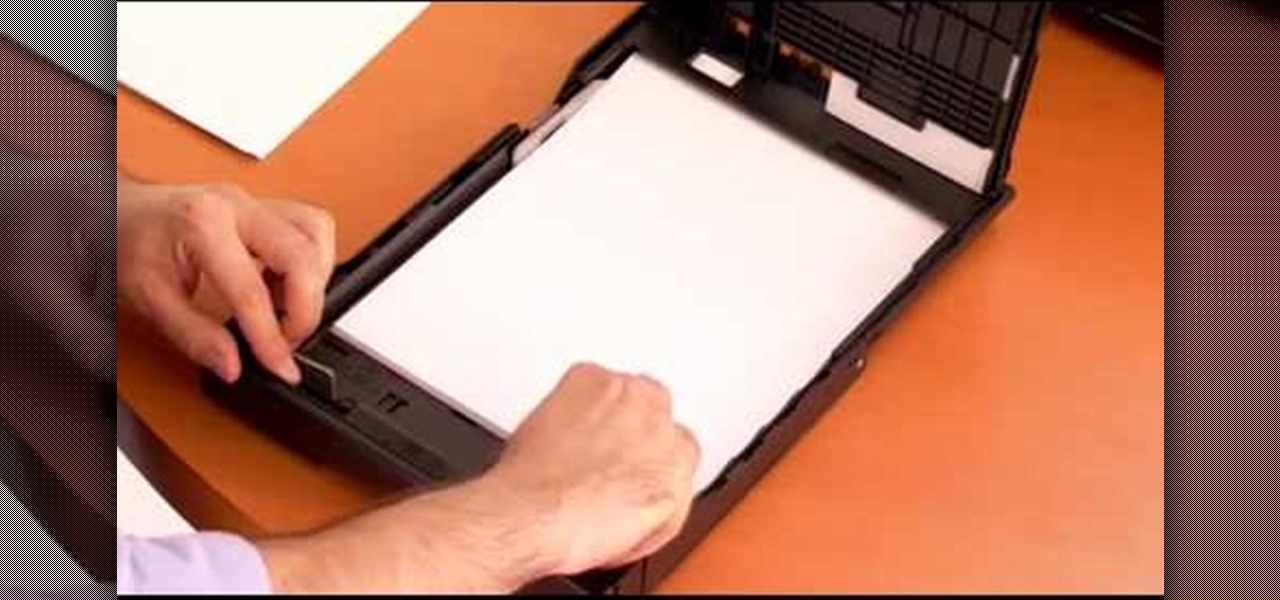
How To: Print on various media types with Epson Artisan 810
Epson sells many different digital imaging products, including ink jet printers and all-in-ones, digital photo printers, multimedia projectors for business, education, and home entertainment, scanners, digital photo viewers, professional imaging/wide format printers, and more. Check out this video to learn how useful and versatile your new Epson Artisan 810 all-in-one printer can be.

How To: Build a hamster wheel to power your PC
Systm is the Do It Yourself show designed for the common geek who wants to quickly and easily learn how to dive into the latest and hottest tech projects. We will help you avoid pitfalls and get your project up and running fast.

How To: Build a sumo robot
Systm is the Do It Yourself show designed for the common geek who wants to quickly and easily learn how to dive into the latest and hottest tech projects. We will help you avoid pitfalls and get your project up and running fast. Search Systm on WonderHowTo for more DIY episodes from this Revision3 show.

How To: Make cool halloween projects to scare guests
Systm is the Do It Yourself show designed for the common geek who wants to quickly and easily learn how to dive into the latest and hottest tech projects. We will help you avoid pitfalls and get your project up and running fast. Search Systm on WonderHowTo for more DIY episodes from this Revision3 show.

How To: Build a 3D scanner from a $25 laser level
Systm is the Do It Yourself show designed for the common geek who wants to quickly and easily learn how to dive into the latest and hottest tech projects. We will help you avoid pitfalls and get your project up and running fast. Search Systm on WonderHowTo for more DIY episodes from this Revision3 show.
How To: Add Electroluminescence to any project
Systm is the Do It Yourself show designed for the common geek who wants to quickly and easily learn how to dive into the latest and hottest tech projects. We will help you avoid pitfalls and get your project up and running fast. Search Systm on WonderHowTo for more DIY episodes from this Revision3 show.

How To: Digitize VHS tapes
Don't jeopardize your memories. Learn how to preserve your old home movies by digitizing your VHS tapes.

How To: Convert cassettes to digital music files
You want to transfer your cassettes to digital music but don’t have a clue where to start. With these tips and the right equipment, your old music will sound brand new.
How To: Check if a remote controller is working
When your remote isn't working, it's hard to tell what's broken. Is it the remote, the think the remote's supposed to be controlling, or maybe even just the batteries? This quick and easy how-to will help your troubleshoot your remote. Follow along and learn how to check if a remote controller is still working.
How To: Make a burglar alarm
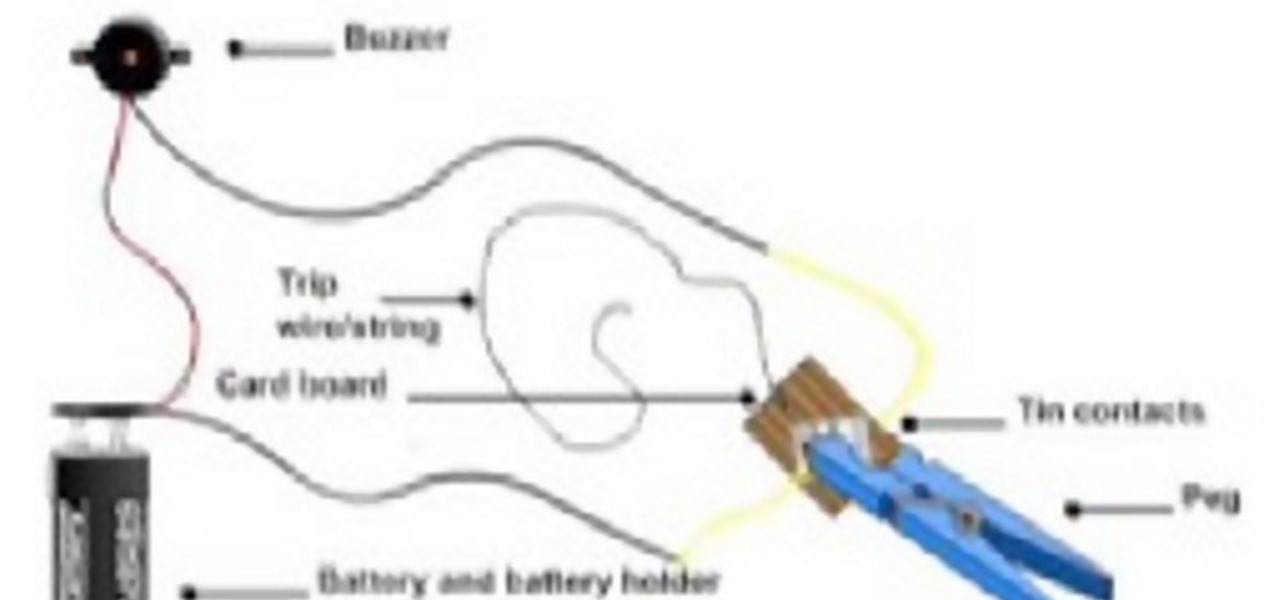
Learn how to make a cheap burglar alarm/trip wire alarm with step by step instructions. This is pretty basic but effective. Cardboard, fishing line, batteries, soldering wire, soldering iron, hot melt glue gun, an empty soft drink can, electrical tape, buzzer are some of the necessary equipment. Follow along and make your own burglar alarm and keep your house safe.
How To: Connect a wireless camera receiver to a Cambox DVR
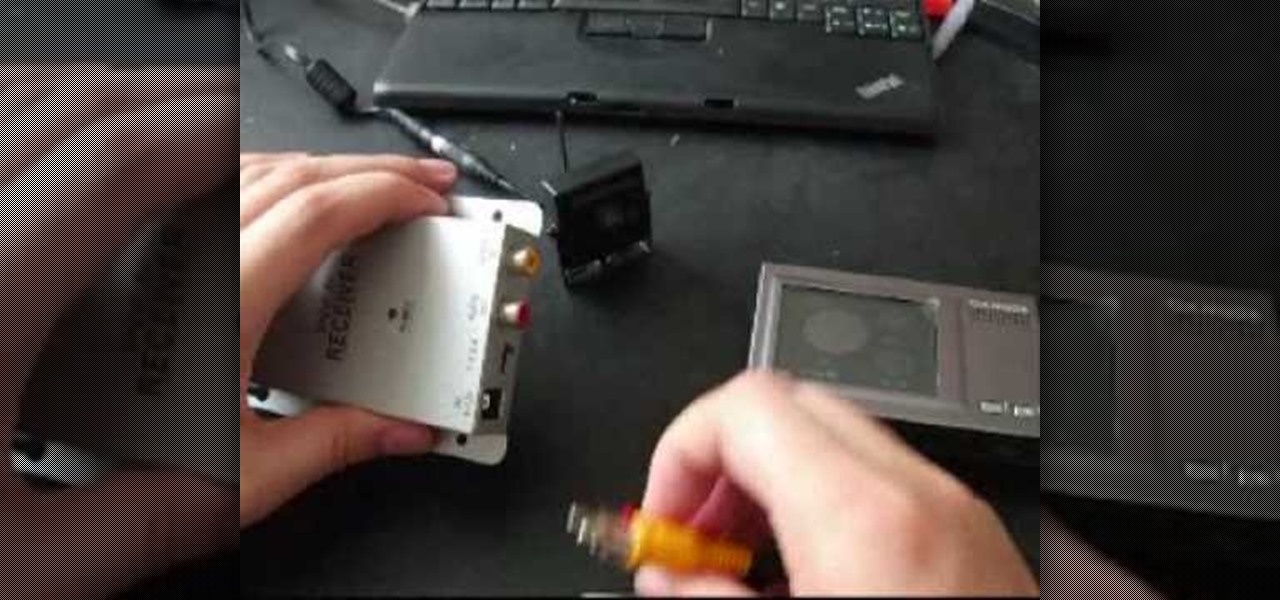
Have a Cambox portable/professional DVR? Well, if you're one of the lucky few, then this video tutorial from Vofoo could help you out.

How To: Clean a cassette player
Learn how to clean a cassette player. Cassette players may be outdated, but if you've still got tapes, you're going to want to keep them in good condition.
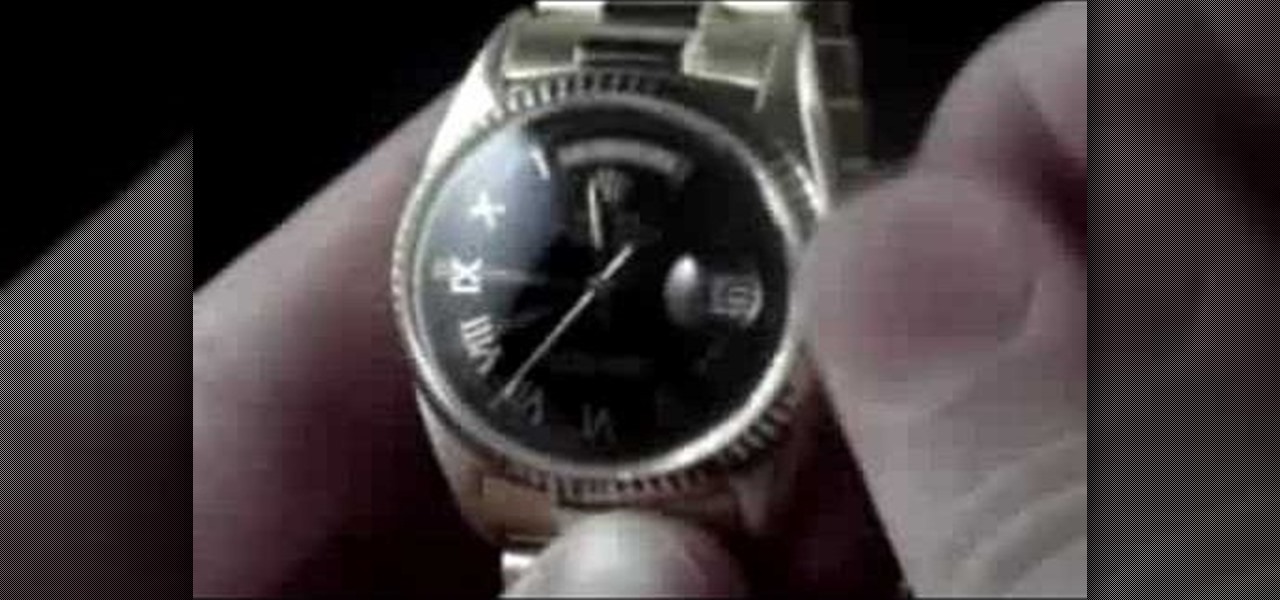
How To: Set a Rolex Day-Date President wristwatch
This video tutorial from Melrose Jewelers shows you how to set a Rolex Day-Date President wristwatch. Setting the Rolex Day-Date can be done with just a few simple steps. You will see how to set the day, the date, and time... just watch.

How To: Connect a DirectTV set-top box or DVR to the Internet
Learn how to connect a DirectTV set-top box or DVR to the Internet. You'll see the simple steps on how to connect a Set Top Box or DVR to the Internet using the power outlets in your home with MegaPlug Powerline Adapters from Actiontec Electronics.

How To: Control AppleTV with your iPhone
All you need to remotely access your AppleTV library is your iPhone. Learn how to control Apple TV with your iPhone with this Howcast guide.
How To: Transfer programs to your TI-84+ and TI-84+ Silver
Wouldn't your TI calculator be way cooler with some sweet programs like Nintendo or Tetris? This is a short tutorial on extracting the files from a ZIP archive, and transferring them to your calculator.
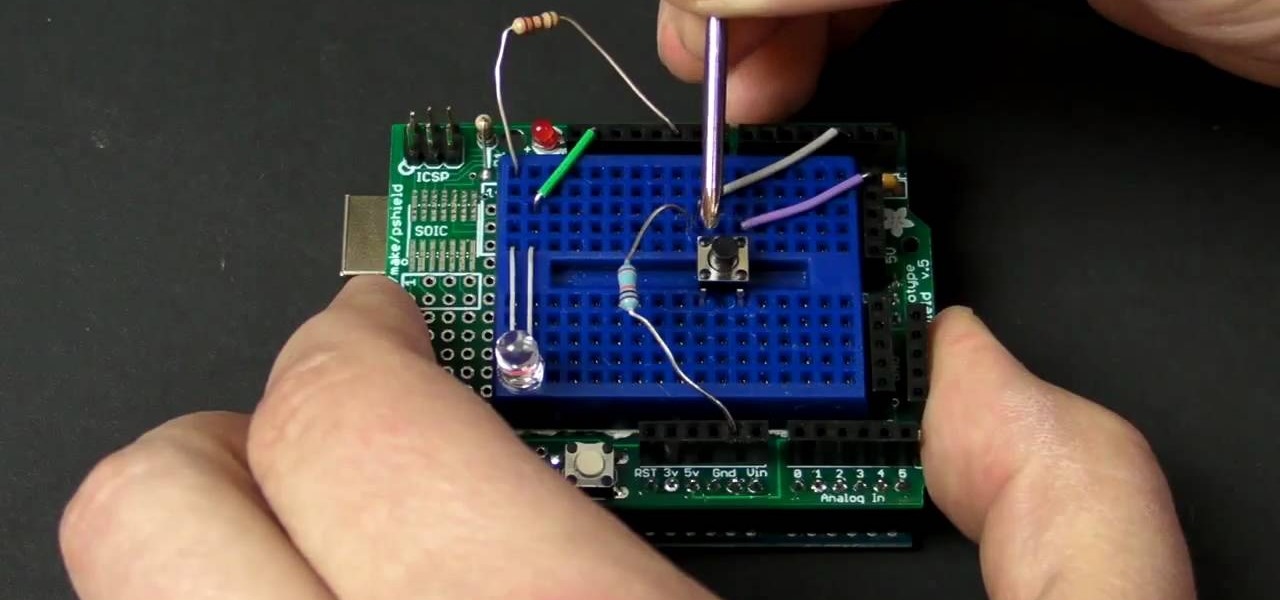
How To: Add a push button with Arduino to control an LED
See how to a a button with Arduino with MAKE Magazine! This is a video tutorial on a favorite little micro-controller, the Arduino. This is a really informal how-to, and is meant to show you just how fast and easy it is to work with the Arduino.
How To: Use a TI-84 calculator as an MP3 Player!
With the help of a program called TItunes & standard earbuds (and adapter) we can listen to music played by a TI84! Mod you calculator to play music. This only works on a TI84, not a TI83.

How To: Replace an HP Laser jet printer fuser
It is a simple way to extend the life of your workhorse printer and takes about 10 minutes. This is a step by step with disassembly of the laser fuser assembly and reinstall instructions. This is a basic mr. fixit tutorial on how to maintain an old laser printer instead of throwing it out. Be better for the environment and stop buying new stuff!


